
We absolutely adore teaching art in our classroom.
How do we find time for art, you might be wondering?
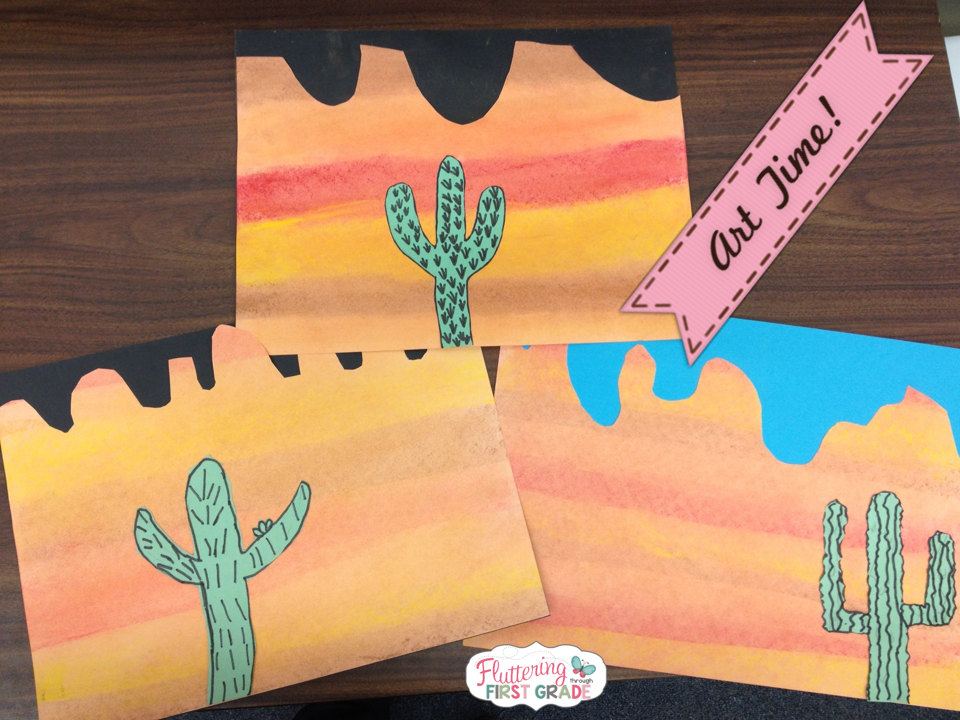
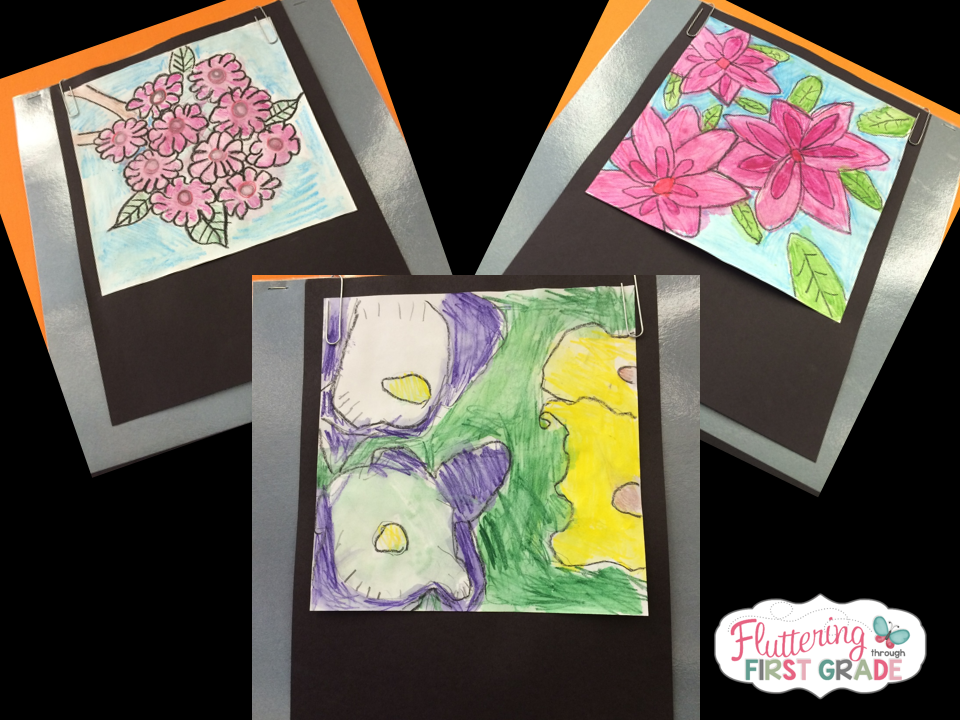
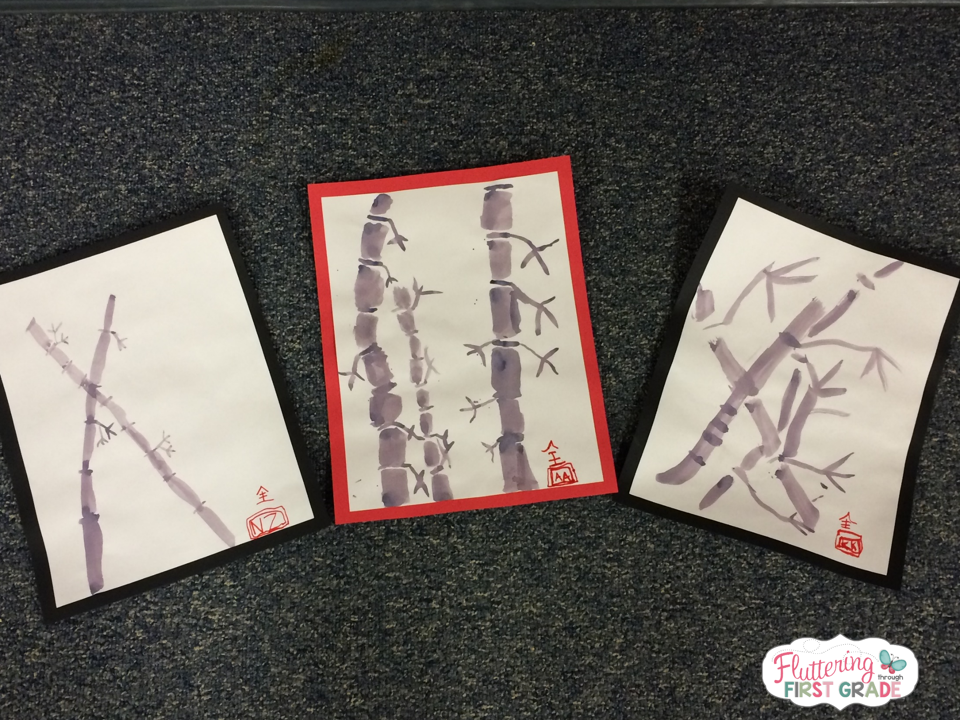
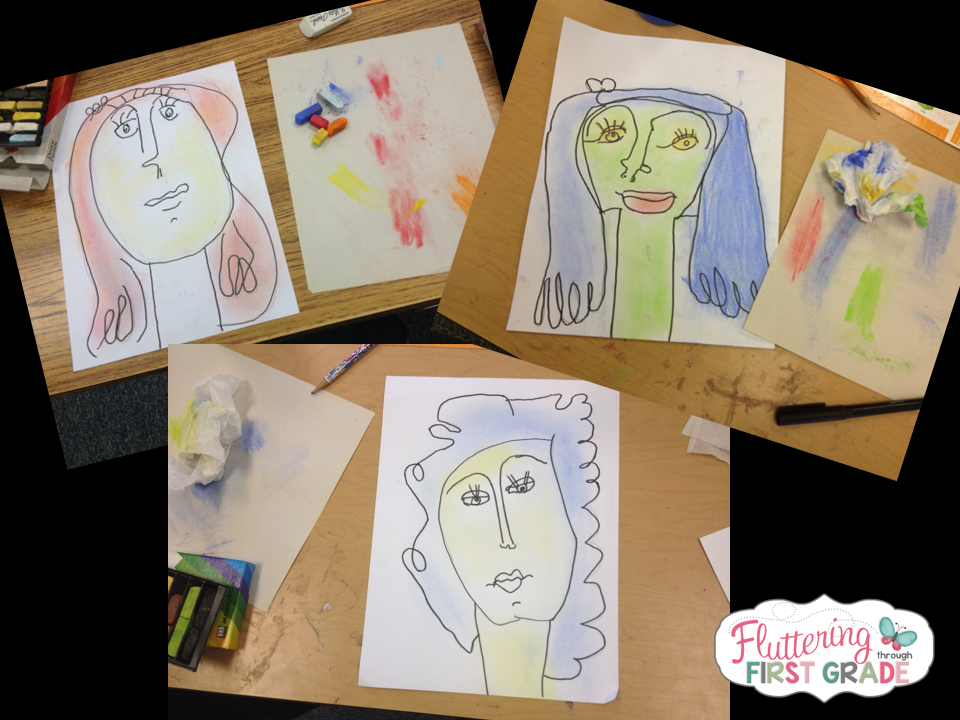
We are fortunate to teach at a school that has a PFA sponsored art program, which allows us to learn and practice the techniques of a designated artist each month.
We love it!
Here’s a few of our favorites from this year…
Remington
Georgia O’Keefe
Asian Inspired Art
Picasso
At the end of the year, each student selects their favorite masterpiece to be put on display in our school wide spring Art Show. We love that every one of our first graders is proud to have a self selected piece of art out for their school to see!
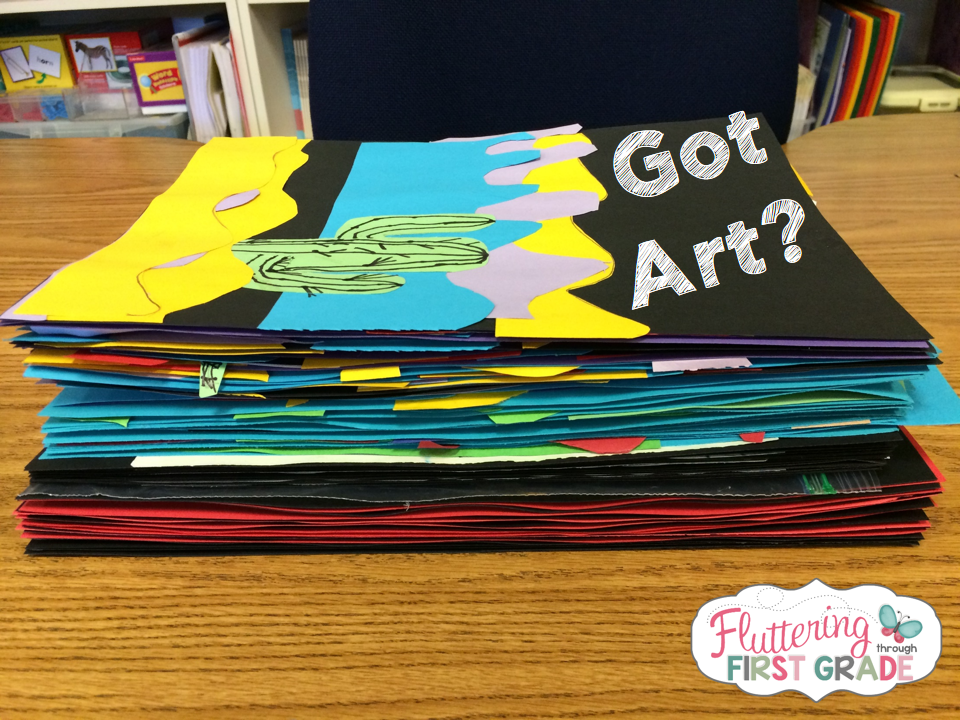
But, what were we to do with all the extra masterpieces?
We decided to keep the rest of their art projects in class for Open House. We create a Do-It-Yourself Student Art Portfolio to cart all their art. We use these for art…But honestly, they can be used for any work you need to package up whole class for display or send away.
Here’s What You’ll Need
2 sheets of 11×17″ (Ledger size) copy paper
Post-It/Sticky notes
11×17″ copy paper or white construction paper (2 per portfolio)
Pencils
Fine Tip Black Markers
Gluestick (if mounting onto colored construction)
Staples
Lamination (optional)
Here’s What You’ll Do
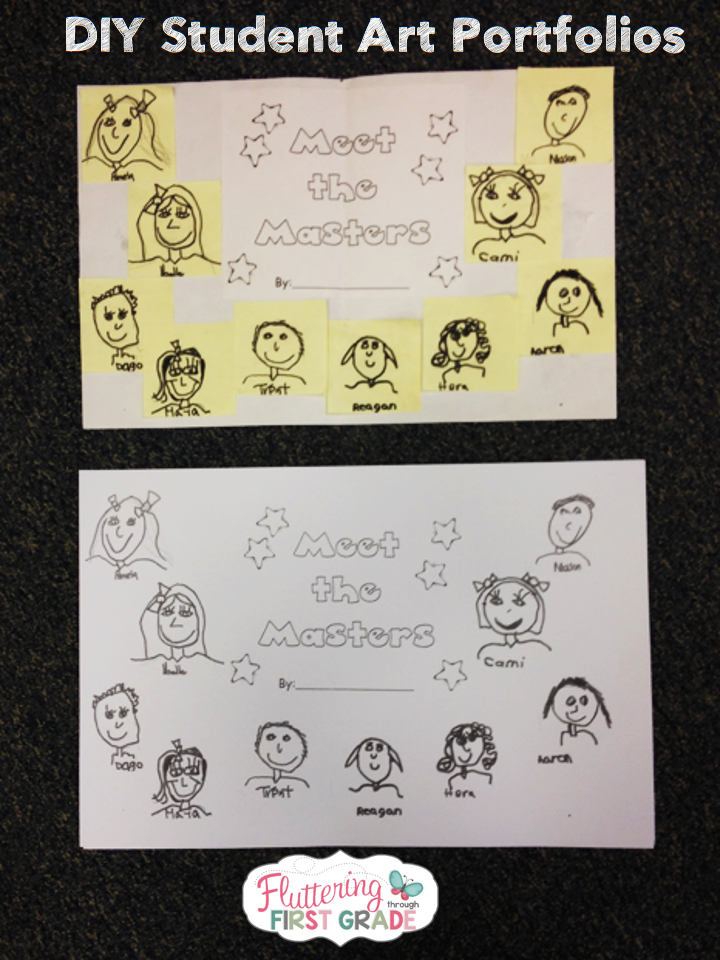
1. Make a title sheet for your portfolio. It can be done on the computer and can say whatever you want! Our art program is called Art Masters, so we chose “Meet the Masters”. You can even have the kids design their own.
2. Give each student a Post-It/sticky note.
3. With a pencil first ~ Write name in the center bottom of the sticky note, large enough so it can be read after tracing with a black marker. Next, have them draw a self portrait from the shoulders up.
4. With a fine tip black marker ~ Trace all pencil lines.
5. Collect student portraits and attach them to 2 sheets (front and back of portfolio) 11×17 copy paper in any arrangement you’d like. If you have more students, you can decrease the size of the sticky note or squish their pictures closer together on the portfolio masters.
6. Run a set of portfolios on the copy machine (1 set of front sheets and 1 set of back sheets). You can use 11×17 copy paper, then mount onto colored construction paper or copy directly onto white construction paper if your copy machine allows.
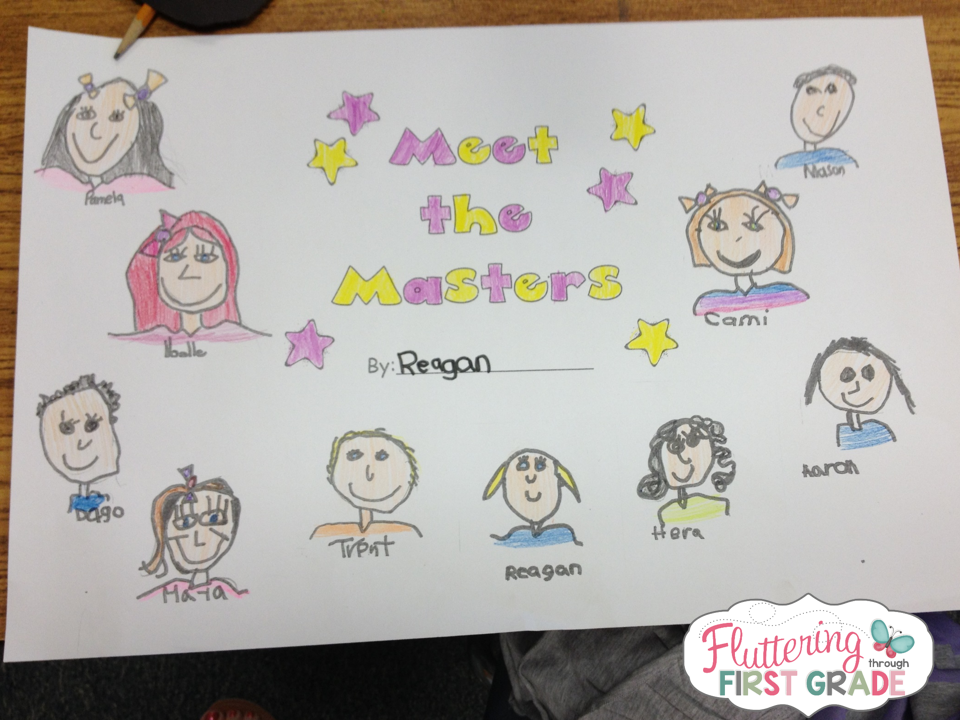
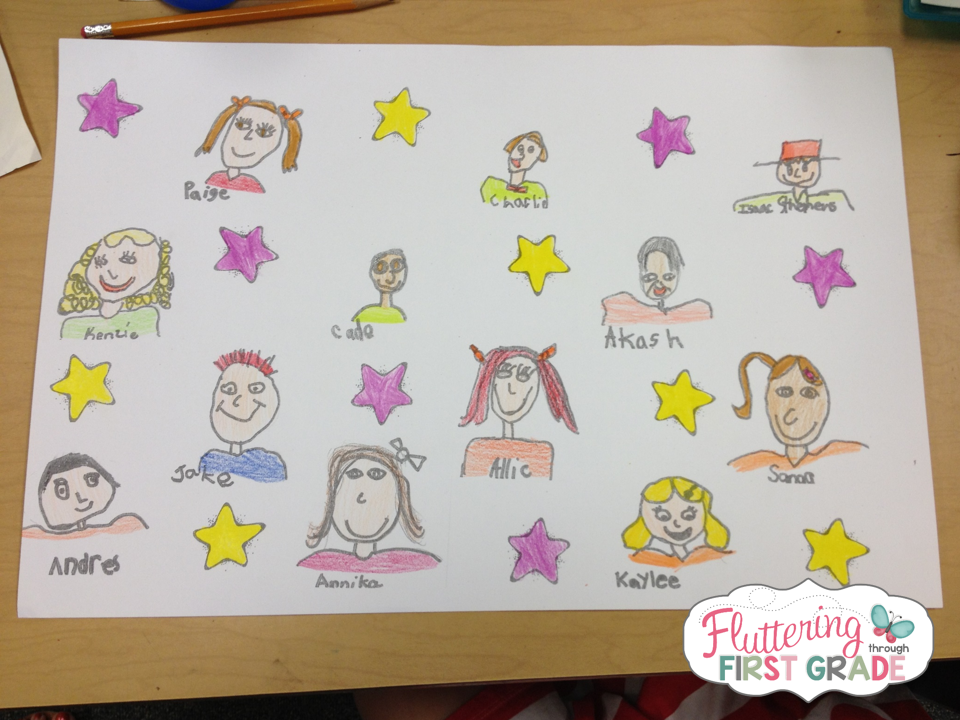
The kids love seeing themselves in coloring book style!
We ask them to color true to life…No purple, green, or orange friends. They spend a lot of time because they love it. 🙂
Cut 2 handles (C shape) from black construction paper and mount them on the insides of each cover where briefcase handles would be. Laminate if desired. Then, put front and back together and staple, lace or tape along the sides and bottom. Leave the top open for stuffing.
**TIP~If laminating, use a razor blade or Exacto knife to cut the inside of the handles out. This take a little time, but the detail is worth it. 🙂
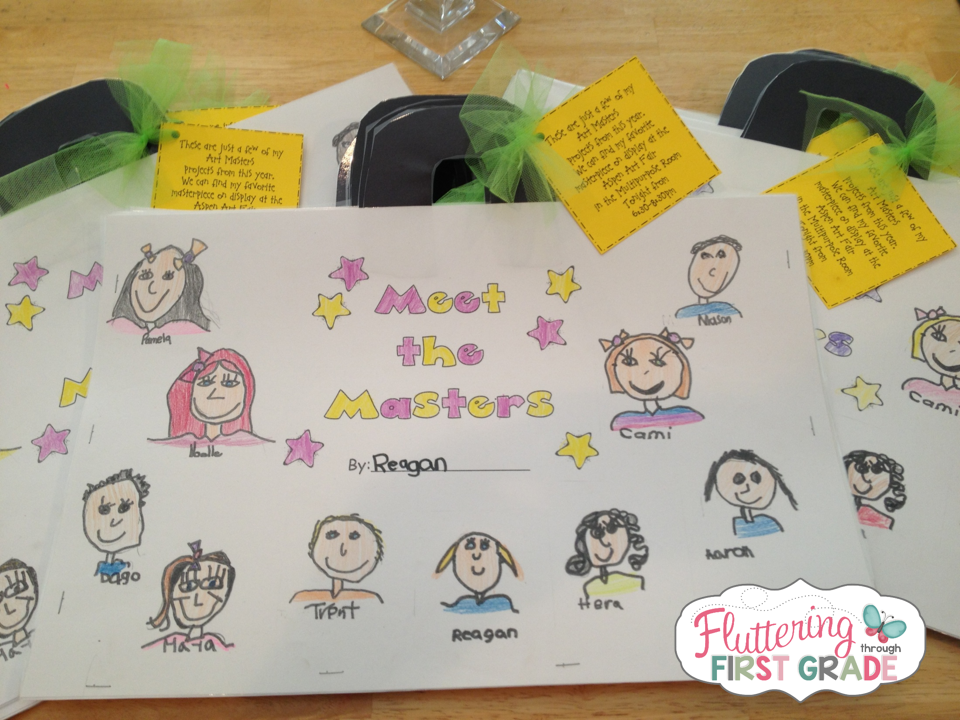
Our little yellow sign was tied to the handle using tulle and the note encourages them to visit our school Art Show during Open House.
If you enjoyed this bright idea, please join us on Facebook, Instagram and Pinterest for more great ideas.
For even more bright ideas from 150 different bloggers, browse the links below…We also have a Pinterest board filled with even more bright ideas!

