Setting class expectations for quality work from the beginning of the school year is top priority in our class. But, this isn’t our first teaching rodeo, so we know first hand that even 6 and 7 year olds can “mail it in sometimes”. We struggle with them just going through the motions, not really understanding the importance of or having the self-motivation quite yet to want to present their best work…especially when the recess bell is tolling. Know what we mean?
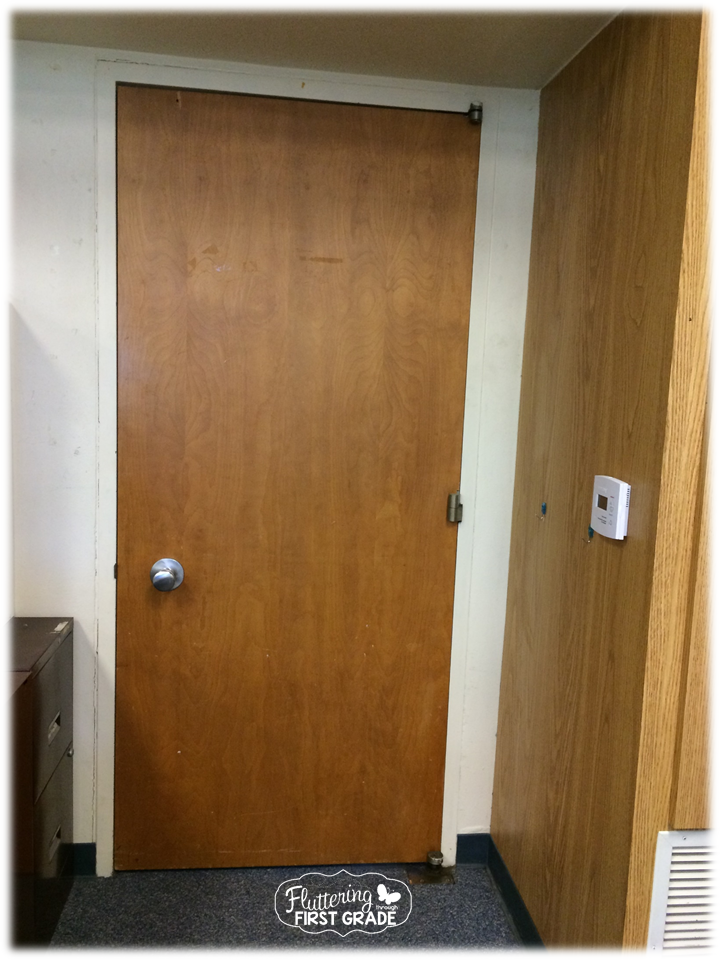
The Problem Area…
When we left for summer break, we knew this corner of our classroom needed some help. We had an idea on what to do in this space, but we weren’t exactly sure how to bring it to reality.
The Solution Spot…
Isn’t Michaels the solution to most of life’s teacher problems?
So, when they asked us to create something for their big Create2Educate Sweepstakes you’d better believe your teacher plan books we were in!
We gathered everything we needed in 1 2 3 trips. It’s just how we roll…We might have done it on purpose, but told our husbands it had to be done that way, per Michael (he runs Michaels, we believe, maybe not…shhh).
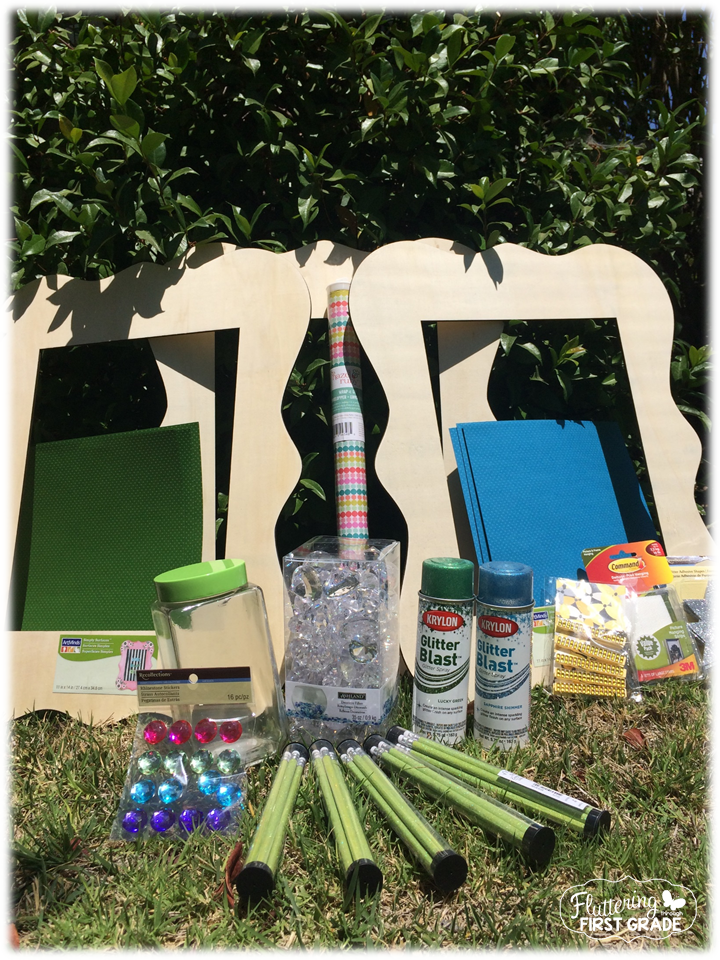
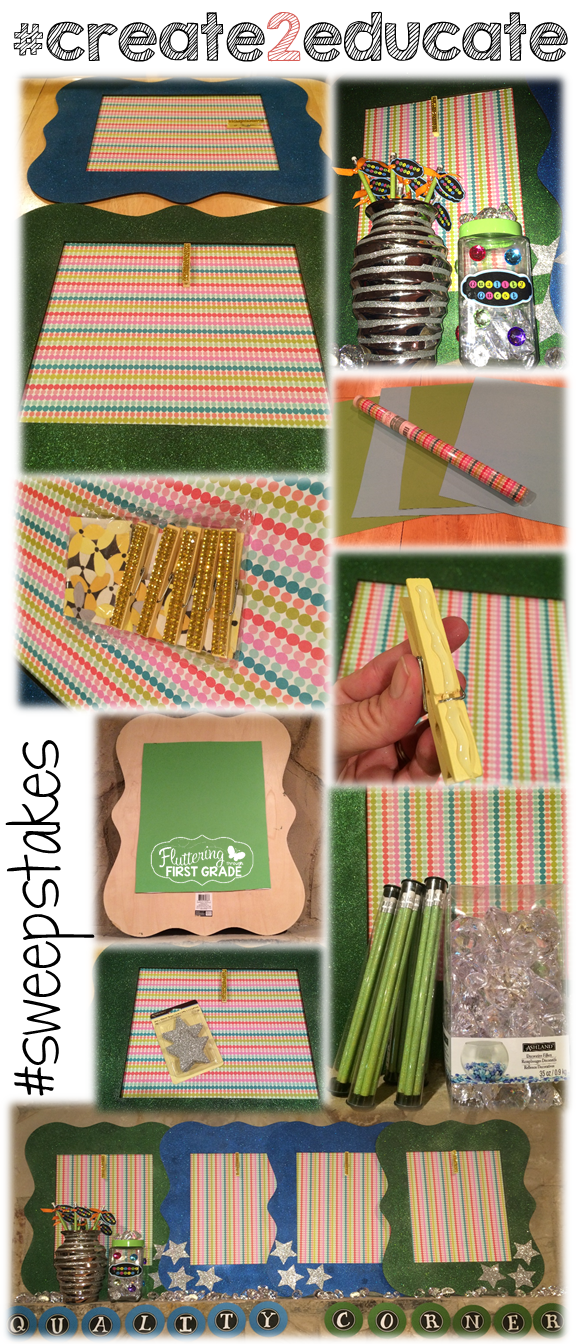
Here’s What We Got…
Unfinished Wooden Frames
Glitter Blast Spray Paint
Mod Podge Paper (the polka dot roll in the back)
Blue & Green scrapbook paper
Clothespins
(We cheated and snagged them from the bargain bins…they were cute and done…Check!)
Glass Jar
Decorative Filler (the plastic diamonds…we know…getting better)
Adhesive silver glitter stars
Adhesive multi-colored jewels
Green glitter pencils
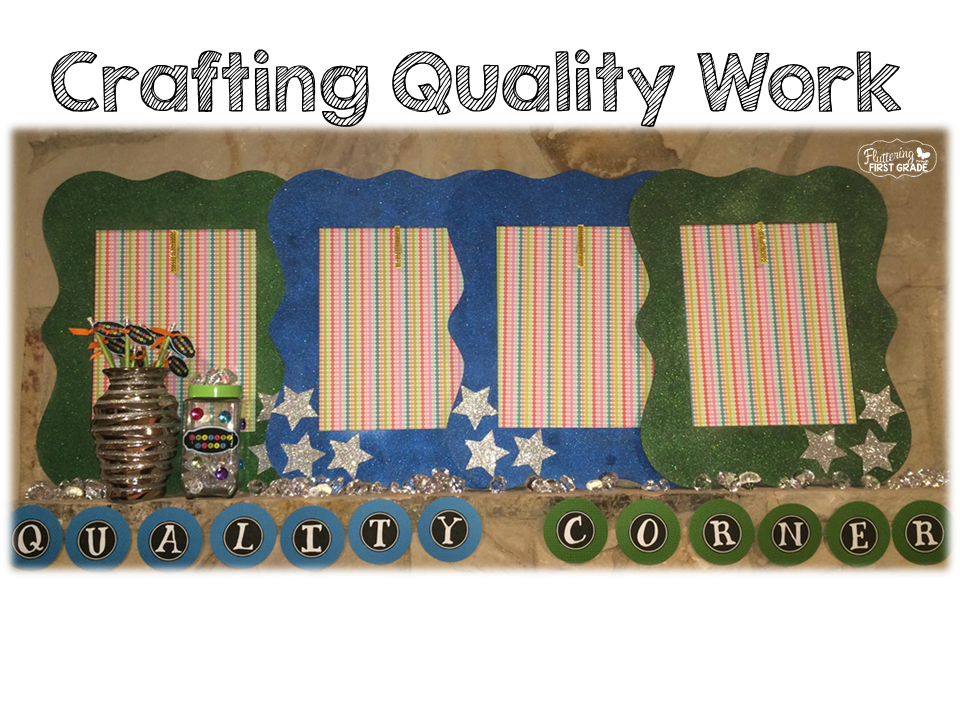
We’re transforming that blah corner in our classroom into a Quality Corner this school year!
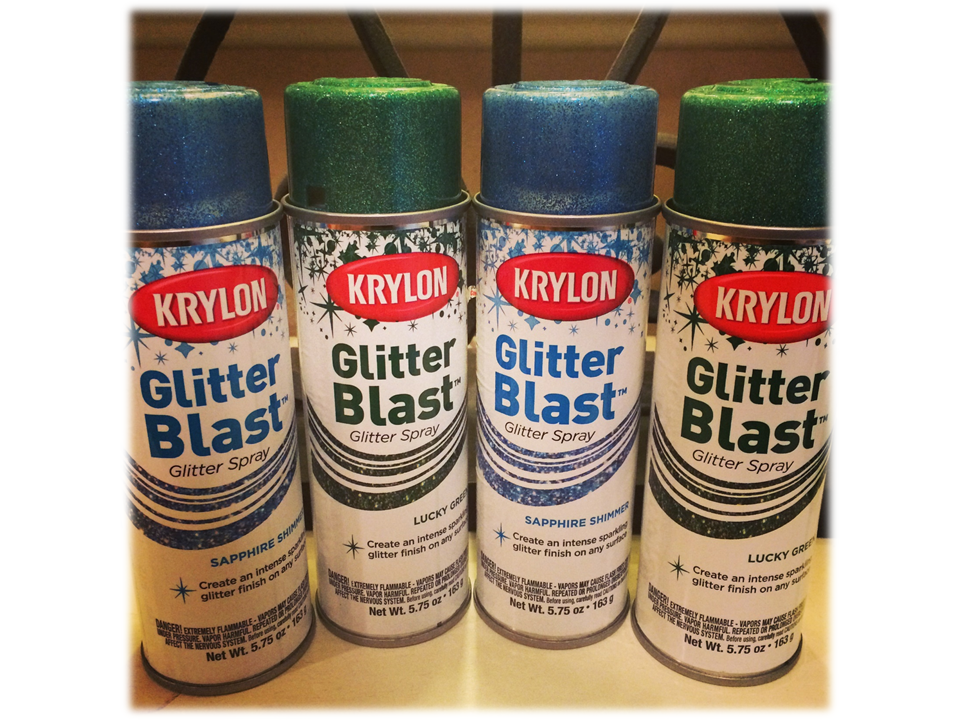
We created 4 frames by spraying them down with this amazing glitter spray…Honestly, how did we not know about this before?! We didn’t think we’d need 1 can per frame, but we did. Or, maybe we just enjoyed spraying glitter all over the place because we were told that we had it all over our face. And we didn’t wash it off…
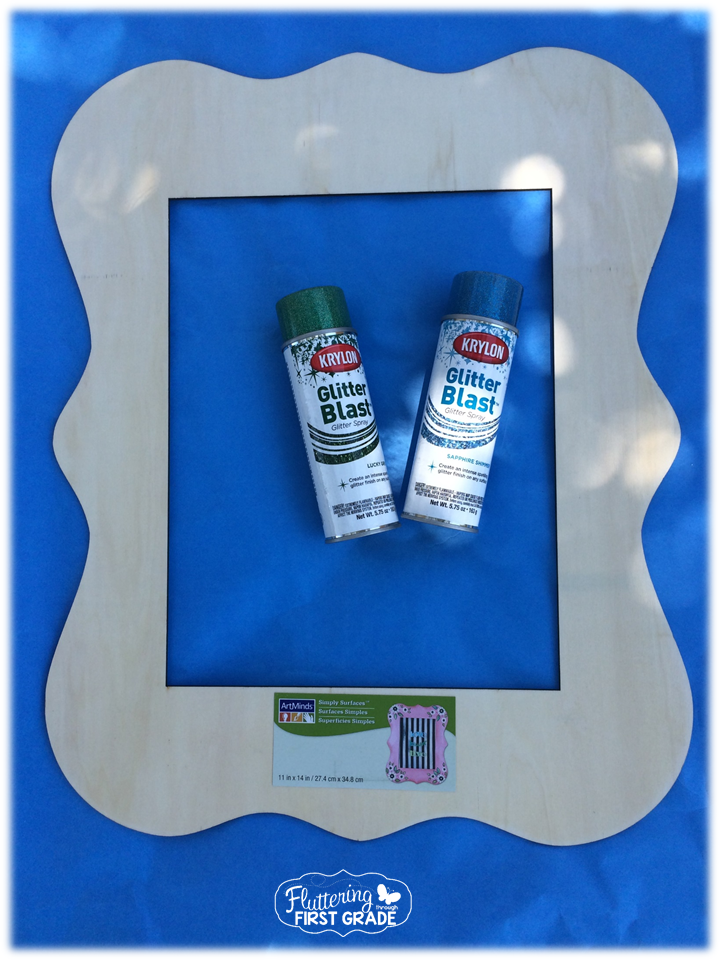
We absolutely love the shades of green and blue. They match our classroom decor perfectly!
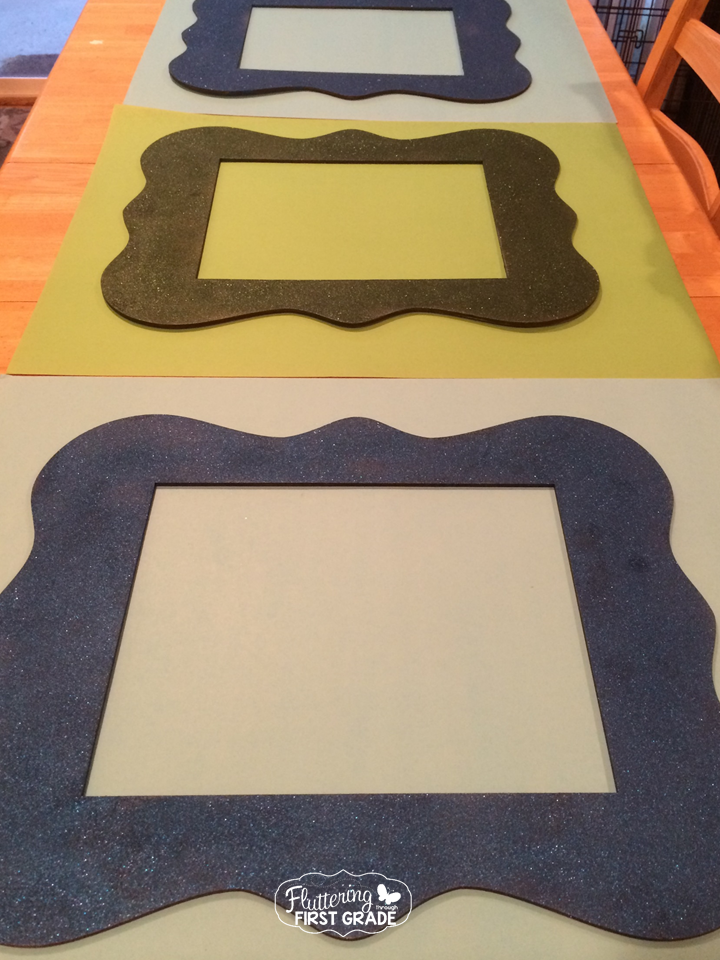
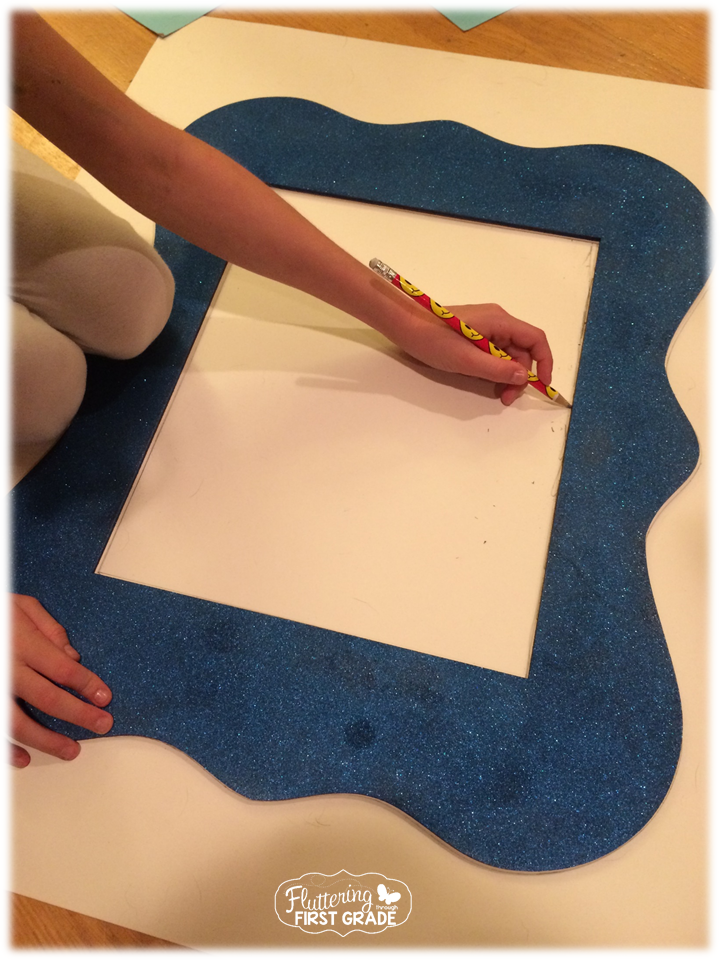
Once we had them all painted, we enlisted a little helper to trace the inside of the frames onto posterboard. When we cut, we cut about 2 inches away from the traced line, so we could cover it with the polka dot paper and still have a border around the edge for hot gluing to the back of the frame.
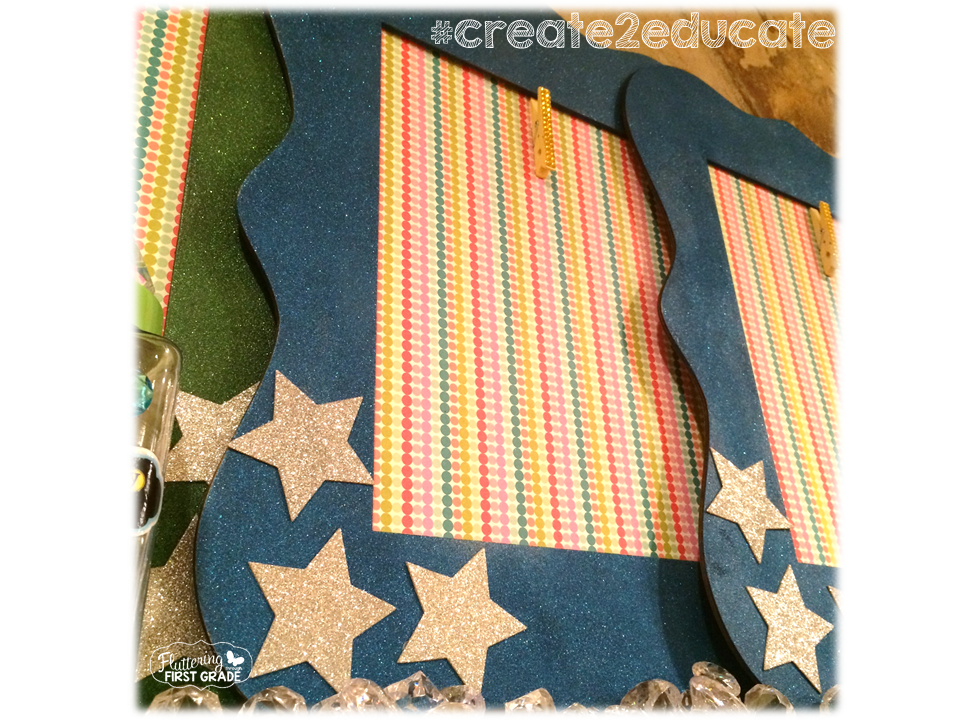
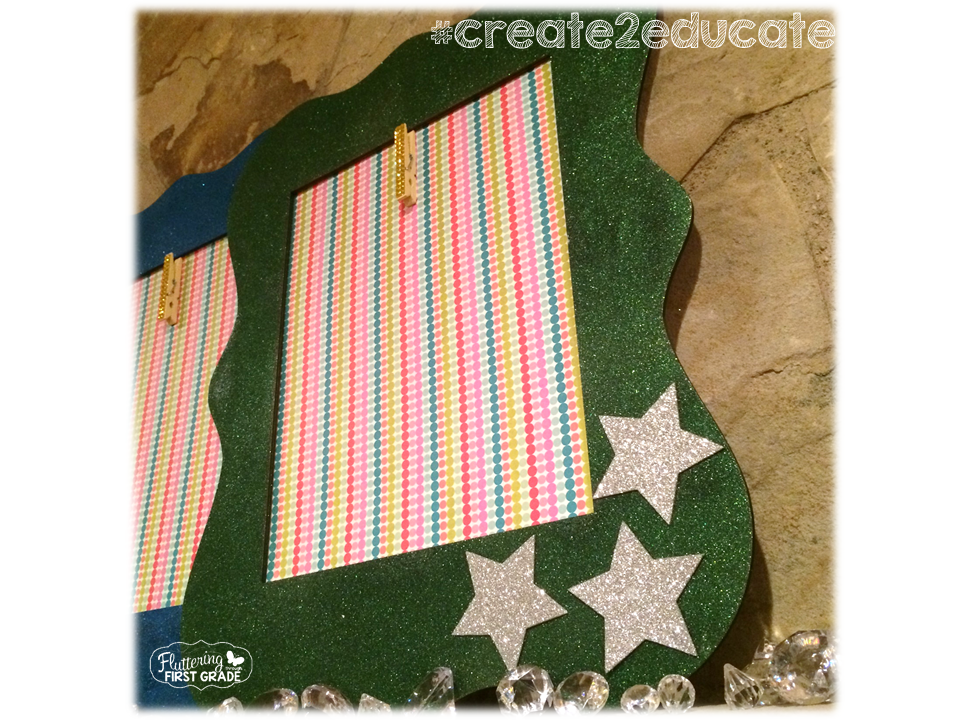
We love the polka dot back boards! We just used glue stick to adhere the mod podge paper, even though it’s mod podge paper. That’s how we roll. Then, we hot glued the clothespin to the middle of the polka dot paper. Super easy!
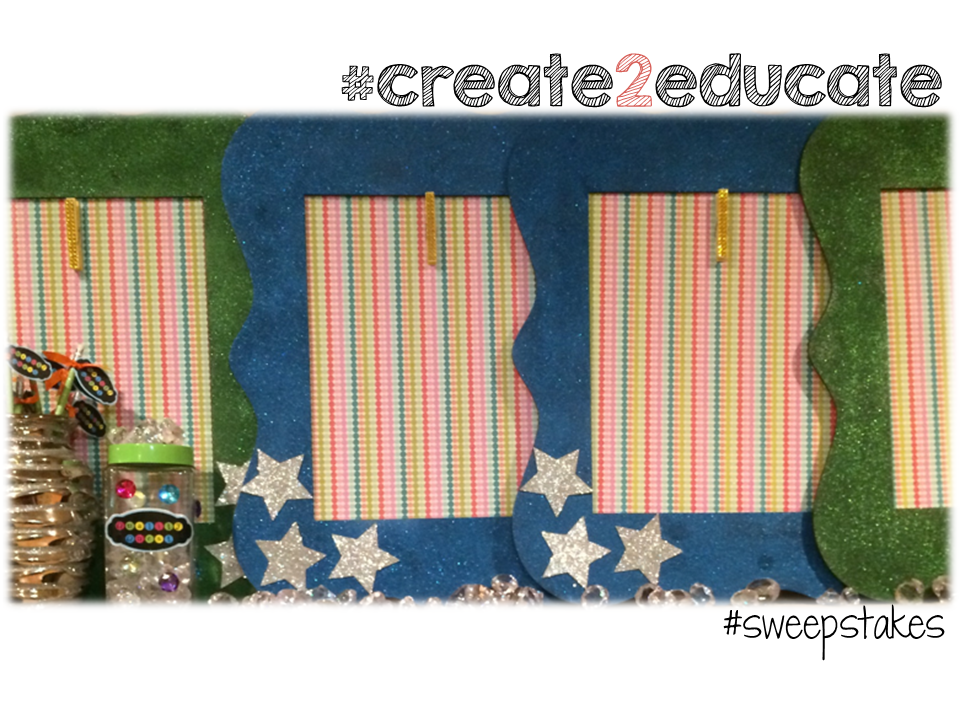
We added some adhesive stars (reinforced with our glue guns) and voila! Quality Corner frames complete! We ended up making 4 of them so we can find multiple kids doing top quality work this school year and hang their work in our Quality Corner.
You may be wondering how we’re hanging these wooden frames up in our classroom? And if your classroom walls are like our classroom walls, they reject anything that goes by the name of Tape, Staples, Mud, Mortar, Gum or Glue…and at least 5 dozen more things that don’t stick to classroom walls.
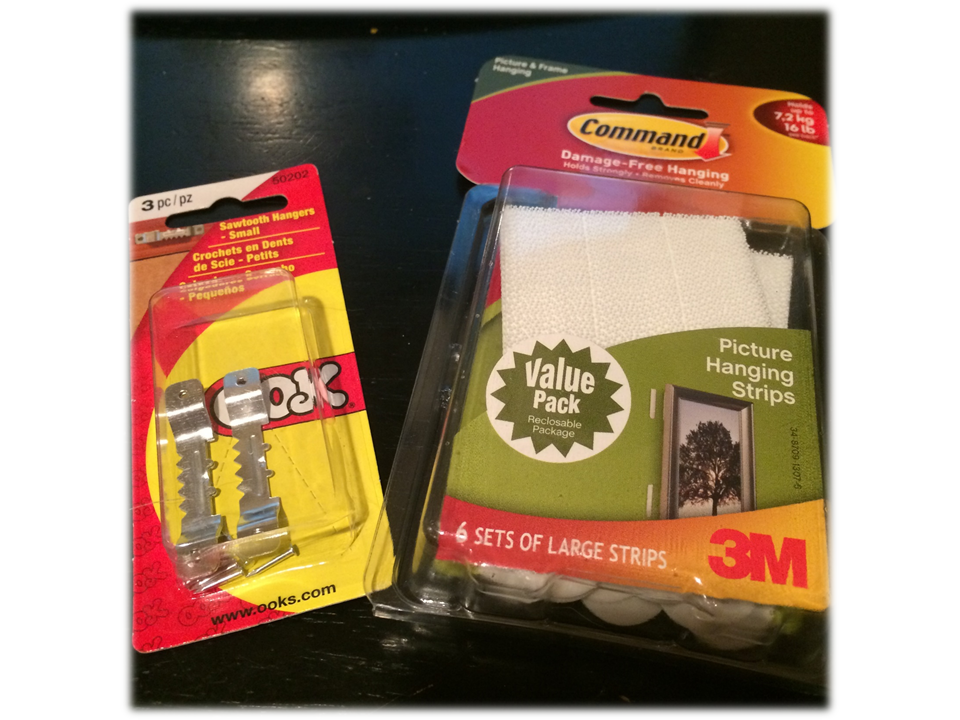
We originally thought we’d just use the good old sawtooth hangers and sneak into class on the weekend to slap some screws in the wall. But, we won’t be doing that because it’s wrong and damages our classroom walls LOOK what we found!
Command Velcro Picture Hanging Strips
We are entirely too excited about these, but we bet you are reading this and getting really excited too! You may want to brace yourself for this next sentence…They stick to the picture frame and then to the wall and velcro to each other. V-e-l-c-r-o. No damage. No wall rejection. Amazing! We will be adding these to our class donation list this year for forever.
So, you’re probably wondering…Now what Ladies?
Well, here’s what’s worked for us…
We challenge our students to present their best work possible by making it a sort of game…to them.
We call it our…
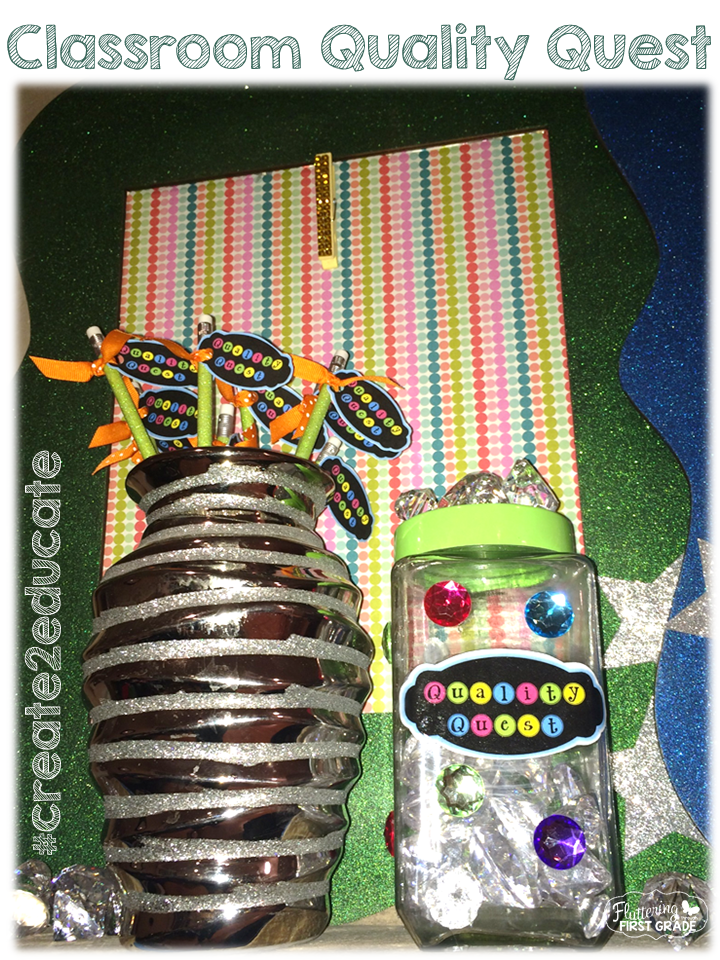
We teach them what the word quest means for starters. 🙂 Then, we challenge them regularly to print their neatest, dot their i’s, cross their t’s, remember their punctuation, and always strive for quality because it’s a class quest!
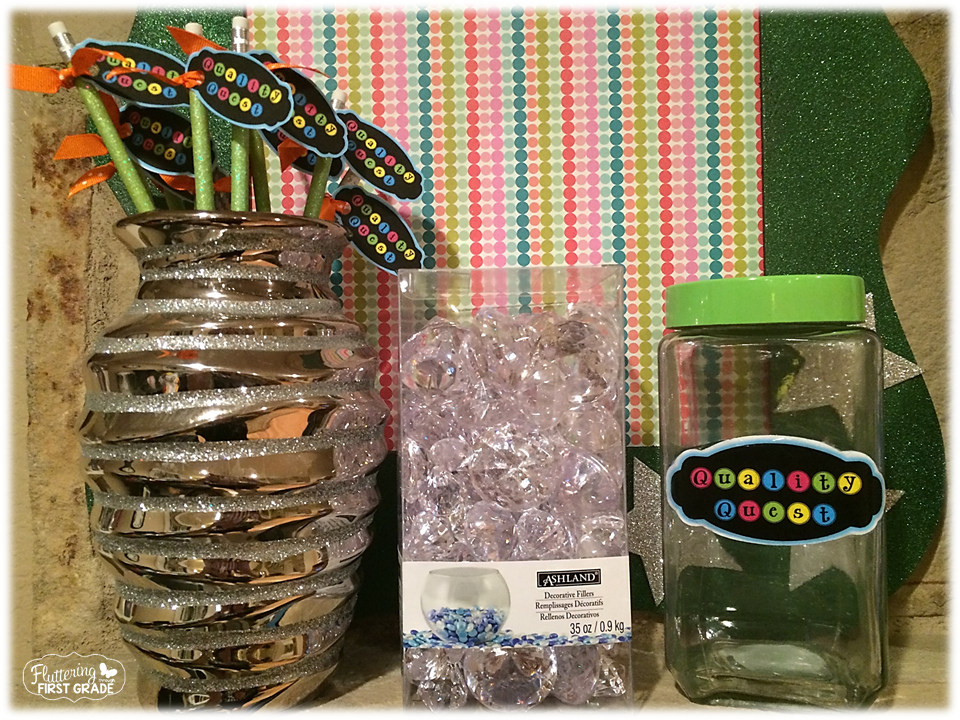
This year, we’ll be using 2 incentives to get them to present their best quality class work. First, we made Quality Quest pencil tags that we will use whole class when they need a whole class motivator…In other words, when the work gets terribly sloppy whole group, we’ll pass out our Quality Quest pencils and start searching for Clean Christys and Tidy Tammys. If you’ve never tried just handing kids a glittery pencil and challenging them to a quest, you must. It does wonders for their motivation!
As they work, we will pass out gems. If we put one on their desk it means they are doing their very best work…Top Quality! They can add their jewel to our class Quality Quest jar. Once it’s filled, we will reward the entire class with something simple and small, like extra recess or free time. Think of it as a gem jar for neat work!
As we grade class work or catch kids questing for quality in the moment (more likely for us), we will snag a few of their papers to display on our glitter frames in our Quality Corner just by clipping the paper to the clothespin. We have 4 Quality Corner frames, so everyone should get a turn during the week…That’s our goal…
And, that’s our secret tip for you…
Everyone does and needs to get a turn in our class.
Yes, even the Messy Marvins and Sloppy Sallies who never ever print neatly and have everything on the floor instead of inside their desks…Find that one letter “g” or whatever it is that they got great and give them a chance. Sometimes they just need that little pick me up and they’re on their own quality quest in no time.
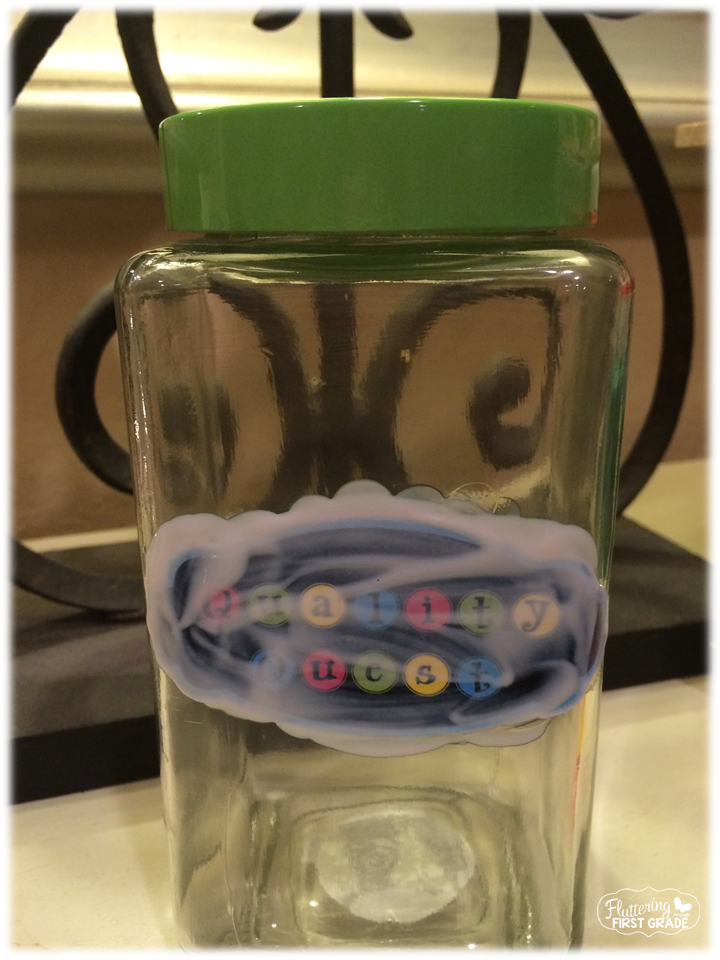
You may be wondering how we adhered the label to the jar? We just printed a label from our computer and used Mod Podge and a paintbrush our finger. Yes, we were lazy and didn’t want to wash a brush. What?! That’s how the Cave Teachers did it! 🙂 It dries clear and shiny and we love Mod Podge!
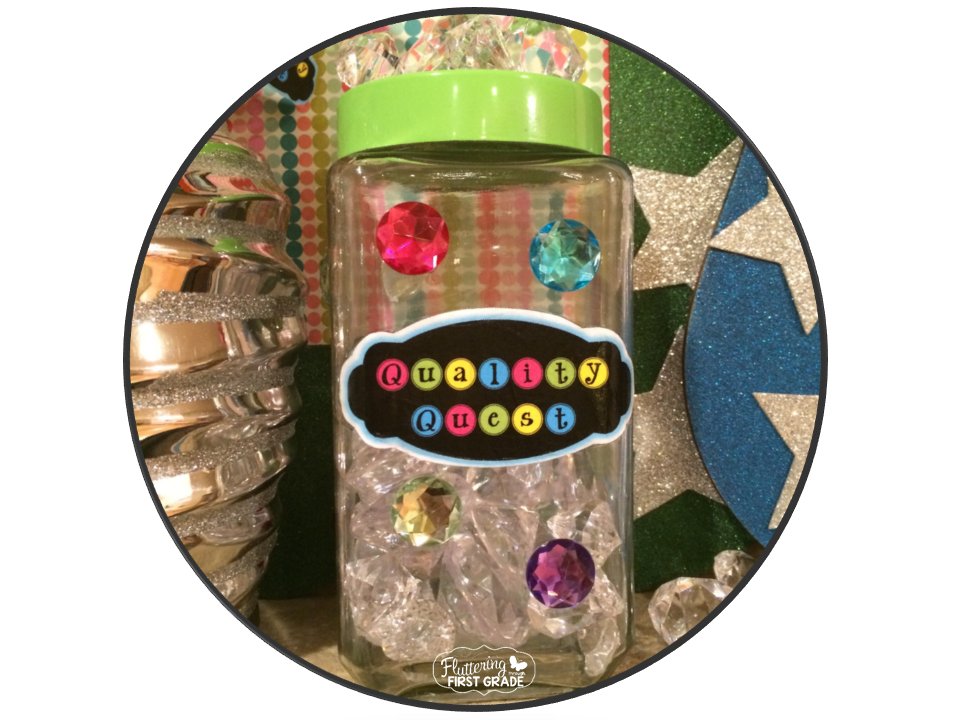
We added a few adhesive jewels (reinforced with the hot glue gun) to the outside of the jar too just to make it more enticing.
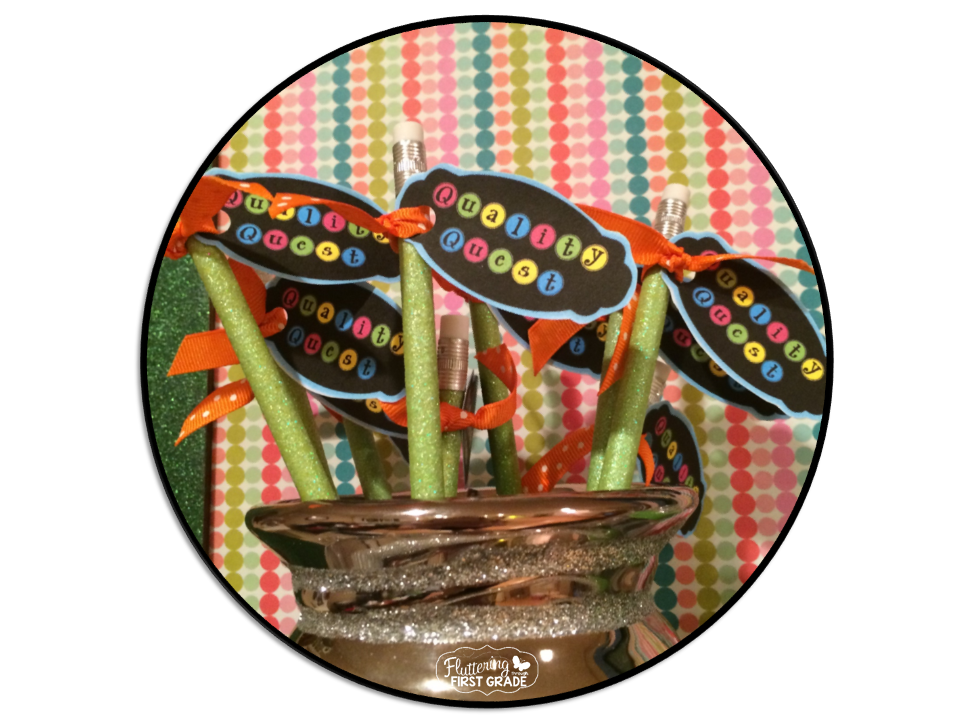
We created the pencil tags on our computer, punched a hole in them and tied them with $1 ribbon from Michaels. The pencils were from their Bargain Bins, 5 for $1.50. Score!
So, guess what?
We didn’t just craft our hearts out for nothing. No! We did it to get you motivated and crafting for your own classrooms and Michaels is here to motivate you even more!
All you have to do is follow the directions below…
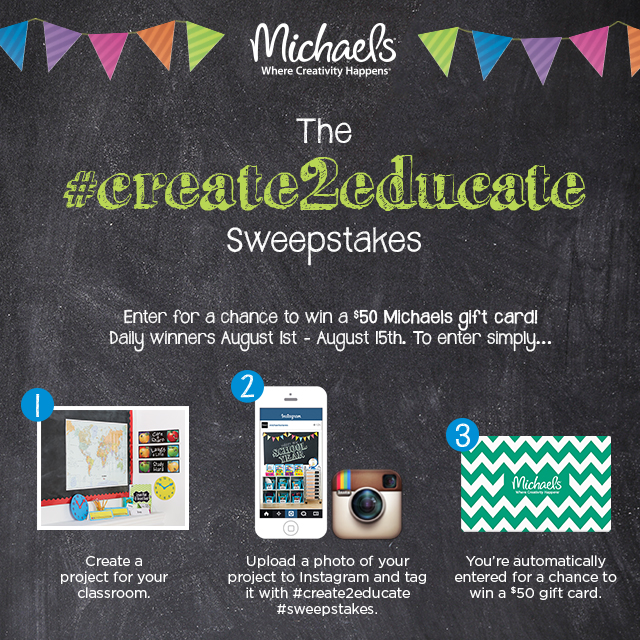
We’d love to see your back to school projects too. Be sure you’re following us on Instagram @fluttering1st and let us see your class crafts! Use #create2educate and #sweepstakes with all your pics and tag @MichaelsStores too.
The BEST part…They’ll be giving away a $50 Michaels gift card just for crafting along…1 winner each day through August 15th. Plus, us Craft-a-holics can enter as many original back-to-school projects as we’d like! So get crafting, post your pics, have fun and good luck!

