It’s time for Throwback Thursday again! This week, we’re bringing you all things America!
Happy 4th of July!
Originally Posted October 18, 2013
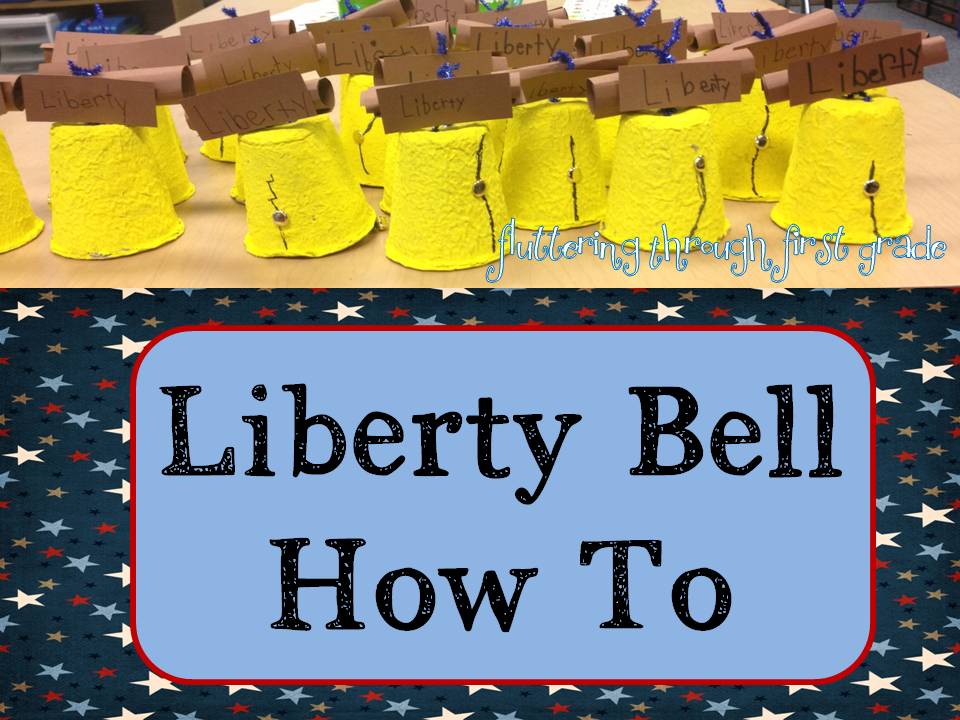
Liberty Bell How To

Once upon a time, we found a pin…

Unfortunately, it led to nowhere. If it’s yours, please let us know! We loved it and are firm believers in giving credit where credit is due.
We’ve been studying American Symbols as part of our Social Studies learning and knew our class would love making Liberty Bells similar to the pin above. Unfortunately, we couldn’t personally get the aluminum foil to look as pretty as the pin above, so we were worried that our first graders would have a hard time too.
We thought and thought, and finally the bells went off!
We put our own twist on Liberty Bells, and our kids loved them.
Here’s What We Did…
We found cardboard planting pots at the 99 Cents Store. The texture and thickness is PERFECT!
They looked crackly and lovely. We were excited.
On Day 1, we set up a painting station at the table outside of our classroom.
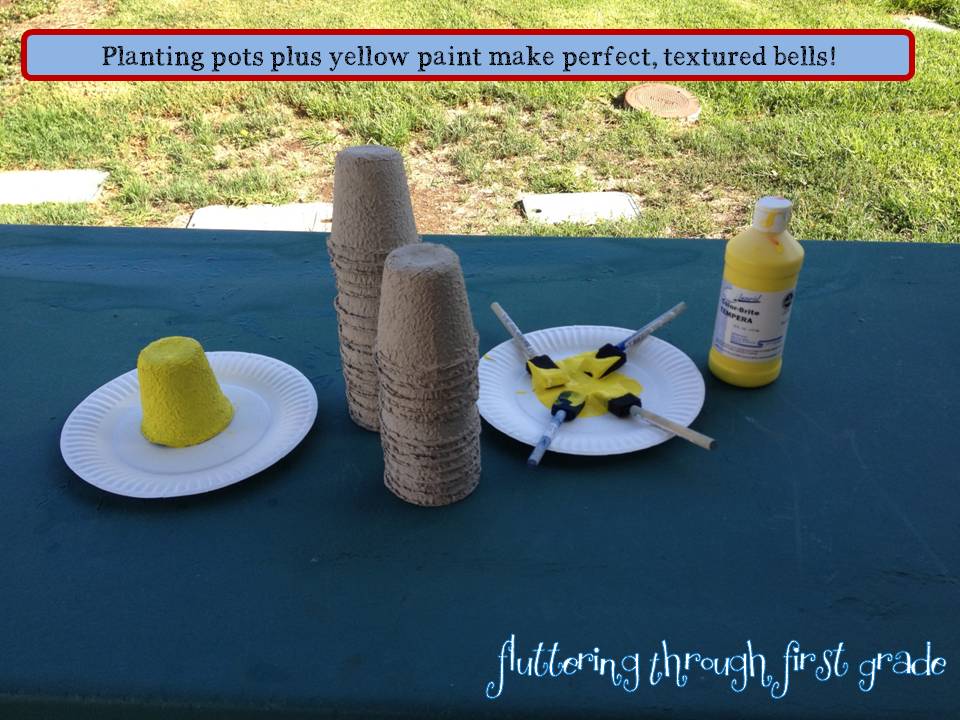
We showed them how to paint a “pot puppet” by putting it over their hand, or by holding it down, getting a little dirty and painting it on the table. We used yellow tempera paint and the paint job was quick ~ 2 coats was plenty with the foam brushes.


Once dry, we prepped the pots and materials for the next phase.

We found small jingle bells, brown scrapbook cardstock by the sheet and blue glittery pipe cleaners at Michaels. We were excited. Poke 2 holes in the bottom of the painted pot before you begin.

Cut one square 3 1/2 x 4 inches wide. This will be the rolling piece. Cut another piece 1 x 3 inches. This will be the Liberty sign.
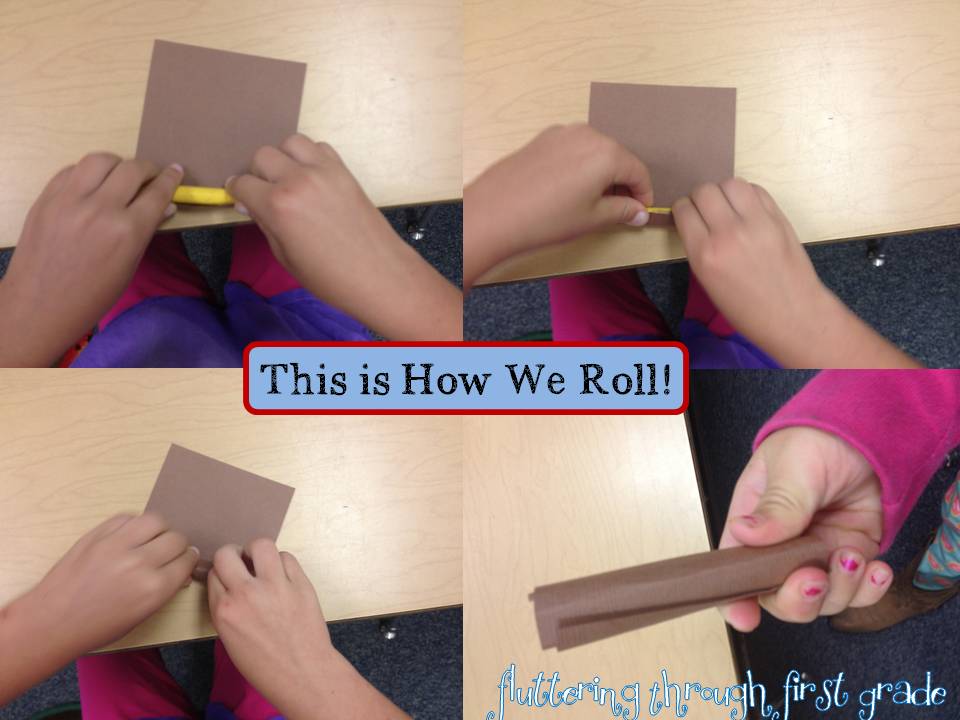
Have them roll their larger brown paper around their pencil.
They were very proud to figure this trick out!
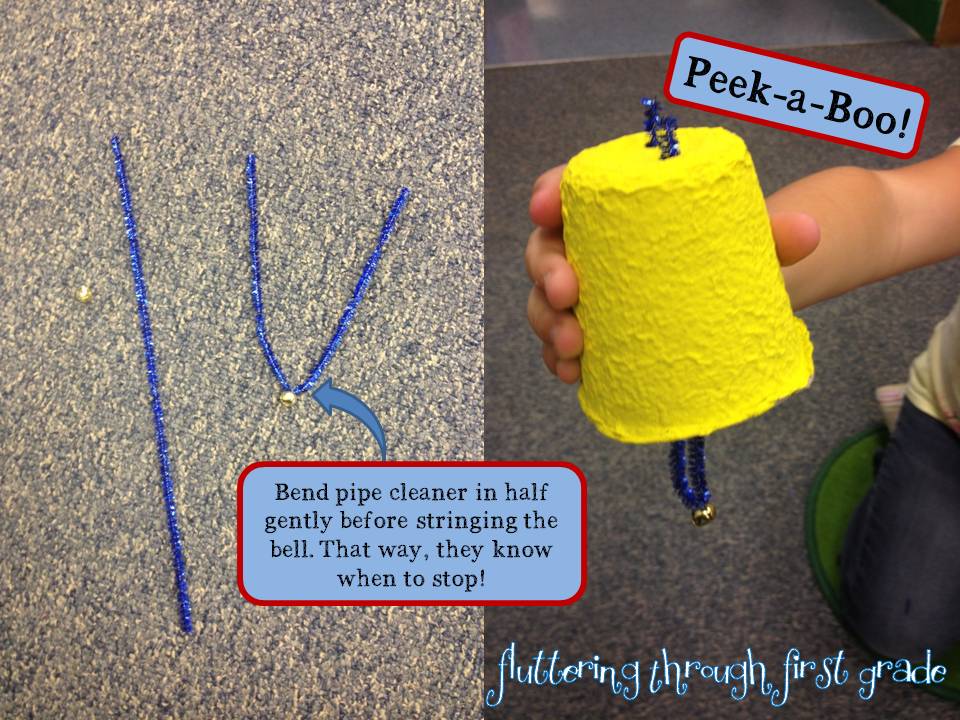
String the bell onto the pipe cleaner, then thread it up through the open end of the pot, now bell~One end per hole. Hold the bell against the side of the inside pot while twisting the pipe cleaner at the top to hold it in place.

Place the rolled brown paper in between the pipe cleaner tails and twist again. A few needed adult help, but most of them were able to figure this out by watching a few times.

Add the crack with a Sharpie, and of course a brad for one of the bolts that tried to fix the crack in the bell. They loved this part! We poked the brad through for them and they opened the arms of the brad inside the pot themselves.
Use the same Sharpie to print the word “Liberty” on the smaller brown paper and attach it to the front of the roll. We used glue dots to attach ours.

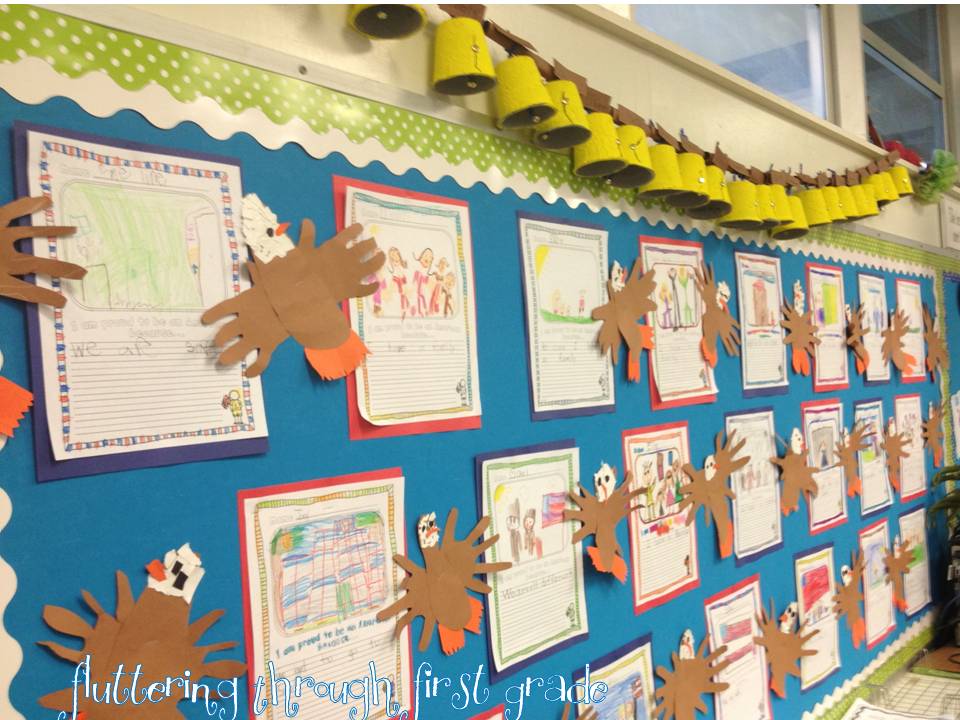
We decided to string our Liberty Bells onto blue yarn and hang them like a garland above our American Symbols bulletin board. Bald Eagles are from Deanna Jump {here}. We used duct tape on the ends to keep them in place. The tape is hiding up on the window sills, but has been there for over a week and no bells have cracked yet. 🙂
Originally Posted September 11, 2012
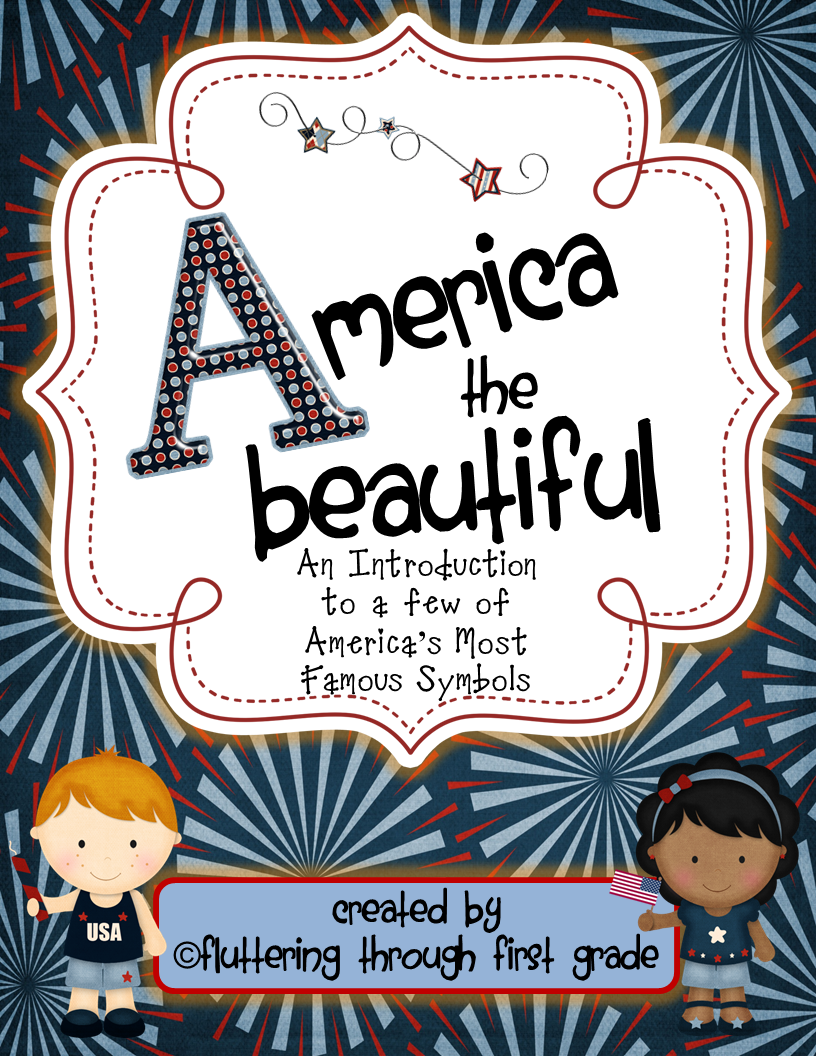
America the Beautiful Freebie
In honor of our beautiful country and its symbols, we came up with a few *FREE* activities that we’d love to share with you today!
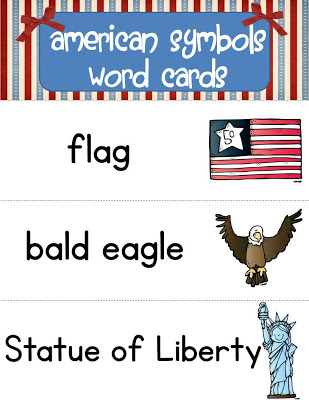
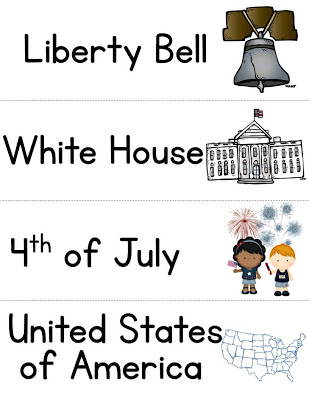
We know there are so many symbols to choose from, but these are the ones we’re focusing on this year. We’ll use these word cards in the pocket chart and up on the board. We like to print and laminate several sets and use them in centers too. We cut the picture part away from the word to make an instant matching game!
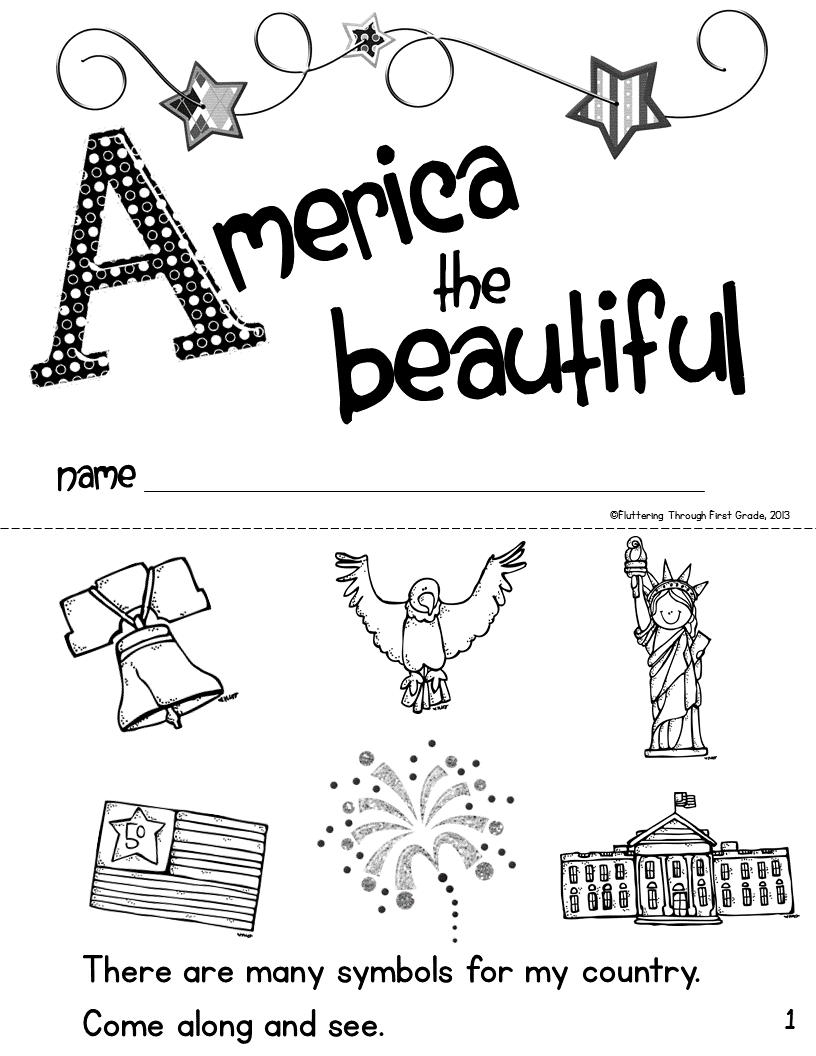
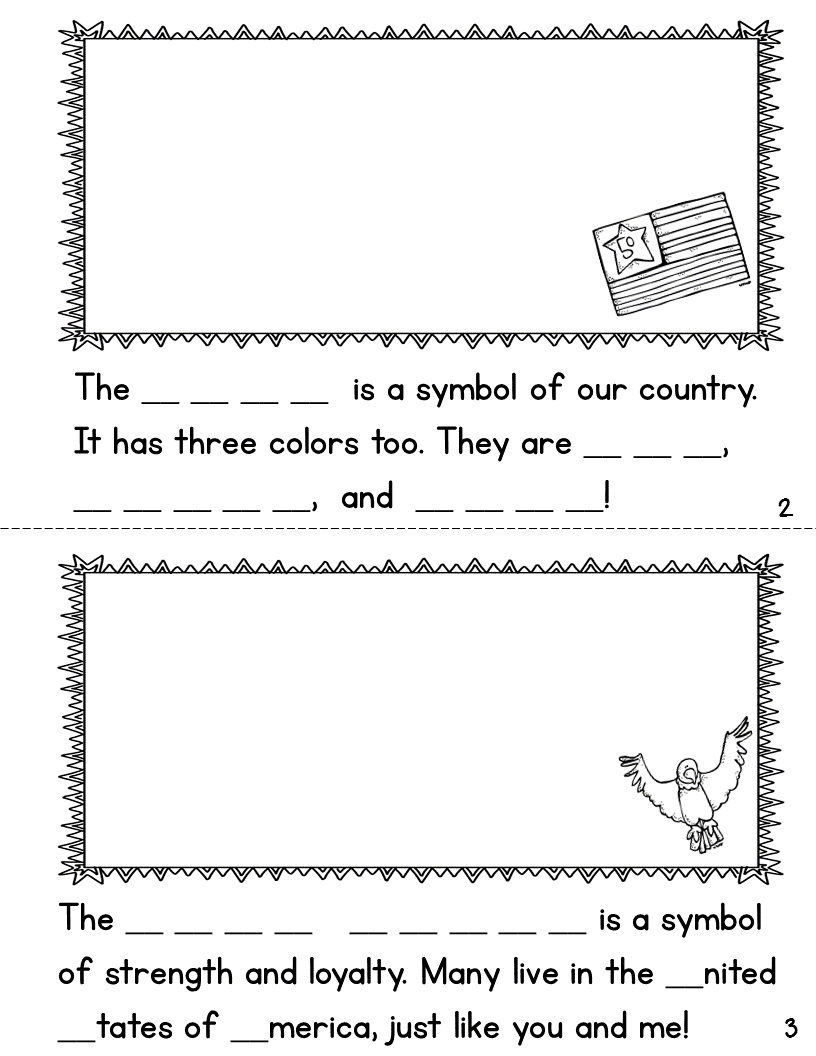
We’ll have our friends work through this little book over the course of the next two weeks. As we learn about each symbol, we will fill in the letters and words to complete our book. We will have them color where they can, then try their hand at a little free drawing in the box above. The rhyming was sorta an accident, but then it became a challenge! So, in the end it all rhymes…It’s a total teacher curse!!! Please tell us you have it too?
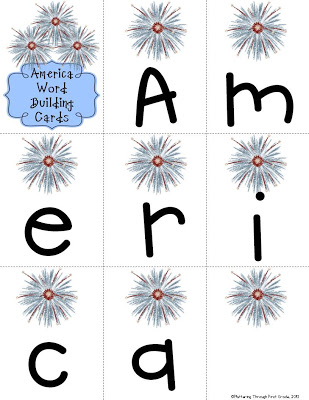
We love word building! It is so good for them and such a great way to get them using those letters and sounds! We use it whenever we can in class.
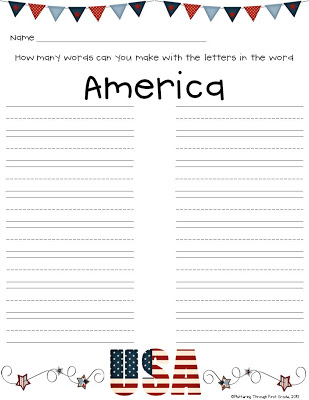
So, this week they will see how many words they can make with the letters in the word
AMERICA.
We’ll print, laminate and chop these letter cards up for them to use in the pocket chart. Then, we’ll make a few extra sets and offer it as a small group activity with the worksheet below.
Don’t forget to head on over to our TpT Store to grab your own copy of our America, the Beautiful
Freebies!
Now what’s more American than that?

